chapter 15: Button-controlled lamp
이전장에서 여러가지 LED를 On-Off 하는 센서를 다루었다 . 여기서는 직관적으로 간단한 버튼 스위치를 넣어서 LED를 On-Off 해보도록 하겠다.
15.1 준비물
EASY plug controller Board *1
EASY plug cable *2
USB cable *1
EASY plug Digital White LED Module *1
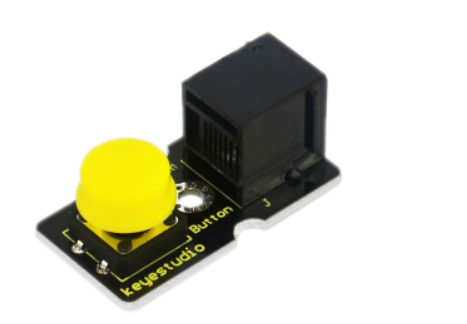
EASY plug Digital Push Button *1
버튼 스위치의 스펙은 다음과 같다.
Supply Voltage: 3.3V to 5V
Easy to ‘plug and play’
Large button and high-quality first-class cap
Interface: Digital
디지털 스위치이다.

15.3 code
블락코드는 다음과 같다.

아두이노 코드는 다음과 같다. 시리얼로 연결해서 값을 찍어 보면 적절히 버튼 센서 디지털 값을 확인할 수 있다.
void setup() {
  Serial.begin(19200);
  pinMode(8, INPUT);
  pinMode(9, OUTPUT);
}

void loop() {
  for (int count = 0; count < 10; count++) {
    if (false == digitalRead(8)) {
      digitalWrite(9, HIGH);
      Serial.println(true);
    } else {
      digitalWrite(9, LOW);
      Serial.println(false);
    }
    delay(1000);
  }

}